Difference between revisions of "Wilderness encounter"
From Wildermyth Wiki
| Line 37: | Line 37: | ||
* Once the actors are positioned, click the small green "dialog balloon" icon on each actor to add some simple text, For the npc, write "Hail travelers! Will you help our village?". For the hero, write "Of course we will help". | * Once the actors are positioned, click the small green "dialog balloon" icon on each actor to add some simple text, For the npc, write "Hail travelers! Will you help our village?". For the hero, write "Of course we will help". | ||
* Your screen should now look something like this: | * Your screen should now look something like this: | ||
[[File: | [[File:ModdingEncounterFirstComicDone.PNG]] | ||
==Seeing the effect in game== | ==Seeing the effect in game== | ||
Revision as of 10:50, 29 November 2019
This page is a work in progress. It will walk through the process of creating an encounter. The focus is on getting something simple which you can see in the game, and adding more details later. The description and screenshots are current as of November 2019, early access version 0.10+98 Ryvio Wartmarch
Preparation
- A typical encounter has between 1-3 PCs. You will need to think of the criteria for selecting the PCs; it helps to browse the existing events to get some ideas of this. To start with, you can randomly select party members.
- A typical encounter has 3-10 steps, which you can think of as rows of the comic. Each panel will have 1-2 lines of dialog, which can be chosen depending on the characters' personality. You should write out at least one line for each panel before you start. Later, you can add personality variants
- Most encounters have a choice, or there isn't really any point. Decide what choice you will force the player to make. If there are three choices, you will need a set of rows for each choice. Write at least one line for each choice, and write the dialog for the rows following each choice.
- Every row of the comic must be designed. The comic tool has drag and drop aspects, but you are still in charge of the detailed visual design of each row. It can help to sketch out how you want each row to look, so that you will spend less time moving and re-moving items in the editor.
Getting started
- Select "Tools" at the main game screen, then "Open Editor", then "Content and Comics Editor"
- At the upper left, click "Mods", click "Create New Mod" in the browser, and fill in the form. This will pop up a file browser showing the files the tool just created; you can close this for now.
- At the upper left, click "effects", then "New", and fill in the form. In the "Type" dropdown, select "Wilderness Scouting". The name field will fill in with auto-generated text. In this example, the full name is [davea_enc_01]davea_enc_o1_cropsOfStone
Filling out the encounter
- Add one story role for each PC in the dialog you wrote. In this example, we will have "hero", "volunteer2" and "volunteer3".
- Hover the mouse over "targets" and a row of buttons will appear. Click "New Story Role" and the New Story Role dialog will appear. For the first one, just click the "Create" button at the bottom right. This will add line 5, "hero".
- Add two more story roles using "New Story Role". For the second one, in the "role" dropdown, select volunteer2, and create. For the third one, select volunteer3.
- At the bottom, you will see text, "Error: target <N> (choiceTarget) defines no choices". For now, delete the choiceTarget row by hovering over the choiceTarget line and choosing "X" to delete it.
- Hover over the outcomes line and click New Entry, then on the right side, click New Entry and select Description (the first entry) in the dropdown. This links the comic we will create, to this encounter.
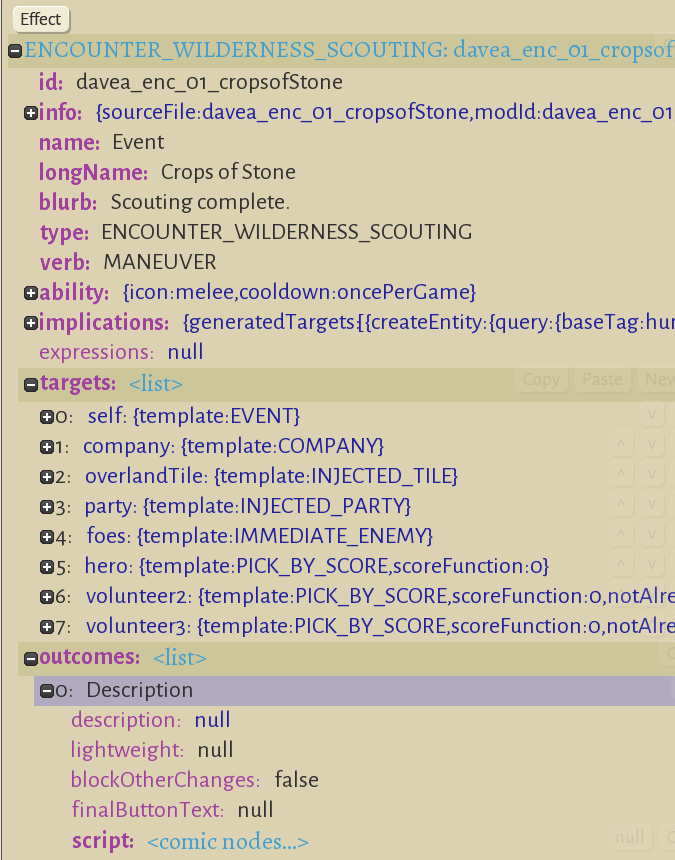
- The target section of your encounter window should look like this:
- Now is a good time to save, using the button at the top of the window.
Starting the first comic panel
- At the top of the screen, select "comics" to open the comic editor. If it is not already selected, select the name of your encounter.
- Designing each panel requires quite a number of steps. We will go through creating one panel and then test it in-game.
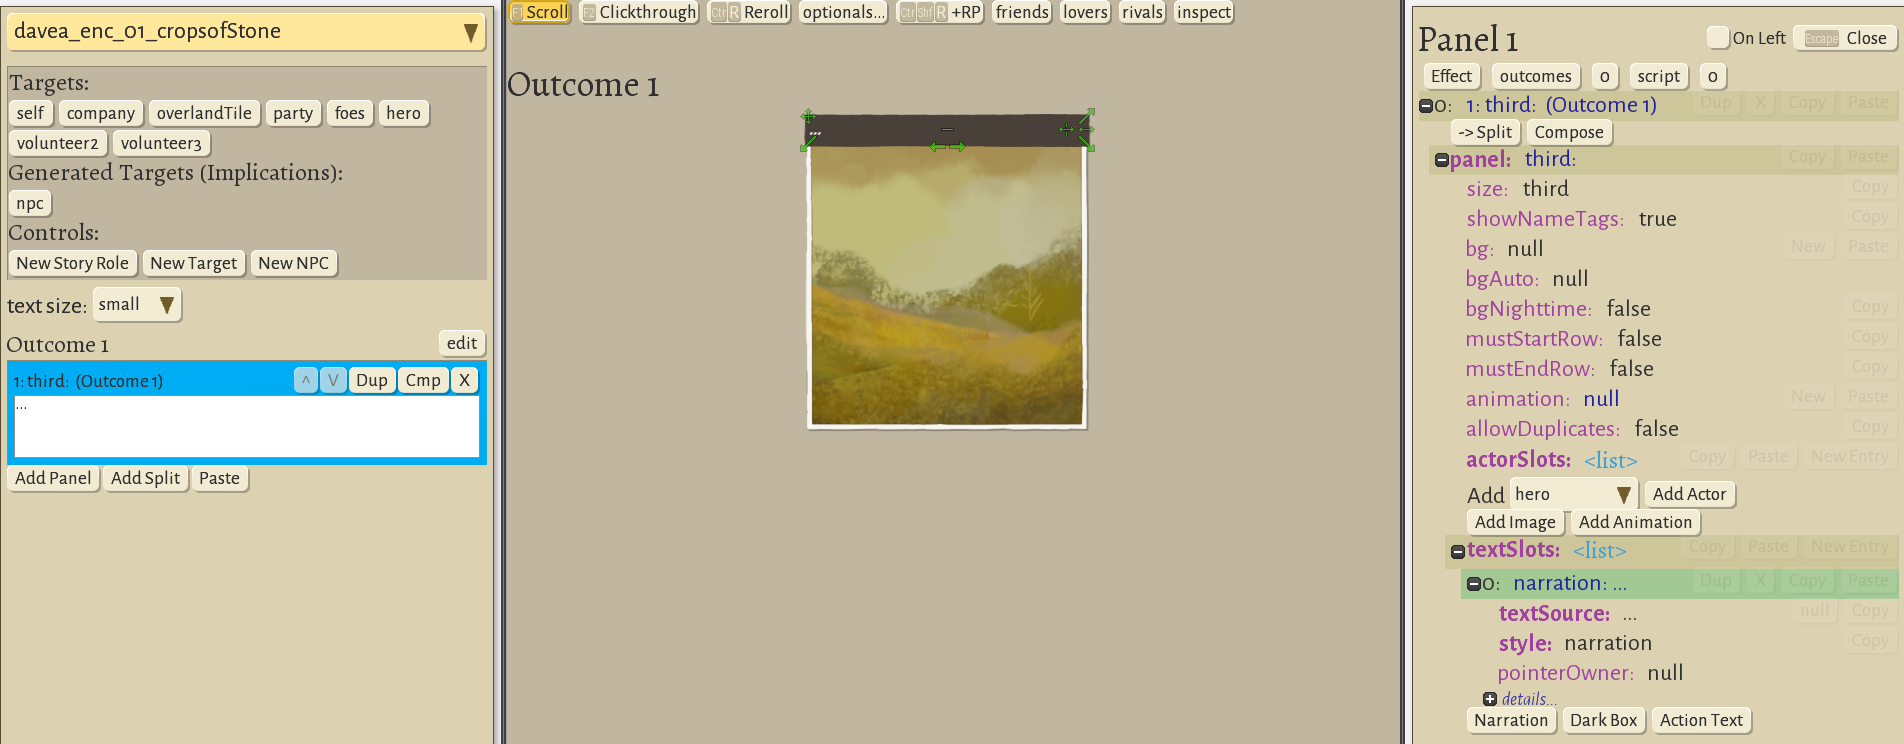
- We will have one NPC with dialog. At the upper left, click the button "New NPC". Your screen should look like this; in particular note the targets section includes hero, volunteer2 and volunteer3, and the generated targets section includes npc. If you do not see those, please review the earlier steps.
Finishing the first comic panel
- We want a full width panel containing the hero character, the npc, and one line of dialog for each. If you find the right side panel becomes blank, click on the "Outcome 1" box on the left so it turns bright blue. This causes the right side to refresh.
- On the right side, click on "bg", and scroll through the choices of all the backgrounds to find comicBG_hillsYellow
- On the right side, click on "size" and select "full"
- On the right side, near the middle under actorSlots, click "add actor". This adds the hero, which was the currently selected value in the dropdown, onto the panel.
- The hero drawing has a bunch of small icons that allow you to move and resize the drawing. Resize so the hero is near the middle of the screen, facing right, vertically filling the panel. (You can also edit values such as scale and position by clicking on the text on the right side. For example, it may be easier to change facing by clicking facing on the right and selecting from the dropdown)
- Under actorSlots, select "npc" in the dropdown, add the npc facing left at the right side of the panel. Select "nameTag" and choose "bottom right" to position their nametag.
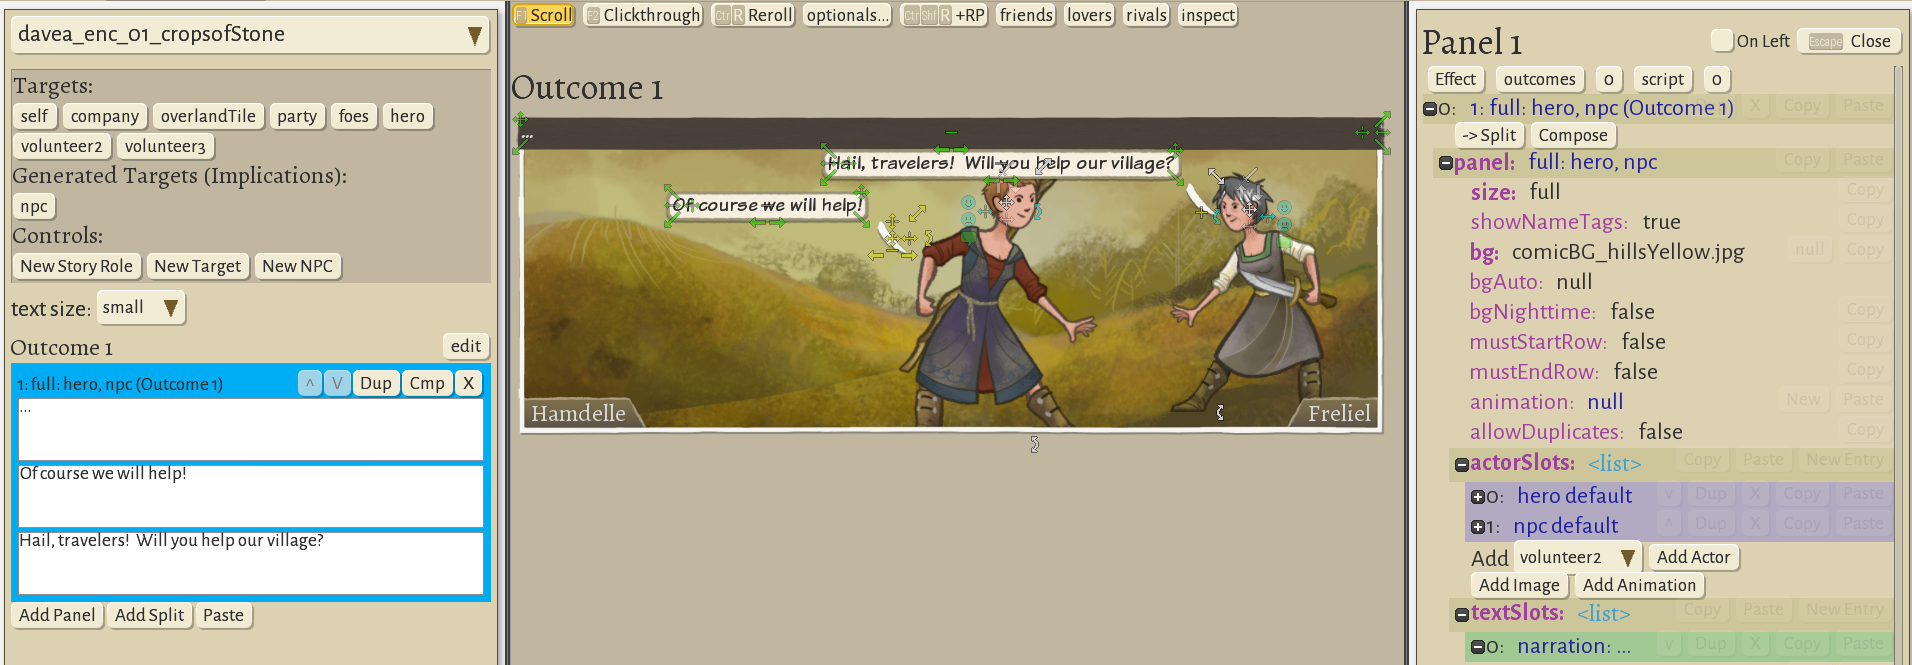
- Once the actors are positioned, click the small green "dialog balloon" icon on each actor to add some simple text, For the npc, write "Hail travelers! Will you help our village?". For the hero, write "Of course we will help".
- Your screen should now look something like this:


