Difference between revisions of "Wilderness encounter"
From Wildermyth Wiki
| Line 27: | Line 27: | ||
* Sigh ... now I am stuck. I did say this is a work in progress. | * Sigh ... now I am stuck. I did say this is a work in progress. | ||
There is an outdated guide to the [[ | There is an outdated guide to the [[Comic_Editor_Reference|comic editor]] which seems to assume some knowledge I don't have. | ||
Revision as of 10:40, 28 November 2019
This page is a work in progress. It will walk through the process of creating an encounter. The description and screenshots are current as of November 2019, early access version 0.10+98 Ryvio Wartmarch
Preparation
- A typical encounter has between 1-3 PCs. You will need to think of the criteria for selecting the PCs; it helps to browse the existing events to get some ideas of this. To start with, you can randomly select party members.
- A typical encounter has 3-10 steps, which you can think of as rows of the comic. Each panel will have 1-2 lines of dialog, which can be chosen depending on the characters' personality. You should write out at least one line for each panel before you start. Later, you can add personality variants
- Most encounters have a choice, or there isn't really any point. Decide what choice you will force the player to make. If there are three choices, you will need a set of rows for each choice. Write at least one line for each choice, and write the dialog for the rows following each choice.
- Look through the existing background graphics files and decide which backgrounds you will use. Point your Windows file explorer at steam\steamapps\common\Wildermyth\assets\ui\comics and look at the files starting with comicBG. If needed, you can make your own using any graphics editor.
Getting started
- Select "Tools" at the main game screen, then "Open Editor", then "Content and Comics Editor"
- At the upper left, click "Mods", click "Create New Mod" in the browser, and fill in the form. This will pop up a file browser showing the files the tool just created; you can close this for now.
- At the upper left, click "effects", then "New", and fill in the form. In the "Type" dropdown, select "Wilderness Scouting". The name field will fill in with auto-generated text. In this example, the full name is [davea_enc_01]davea_enc_o1_cropsOfStone
Filling out the encounter
- Add one story role for each PC in the dialog you wrote. In this example, we will have "hero", "volunteer2" and "volunteer3".
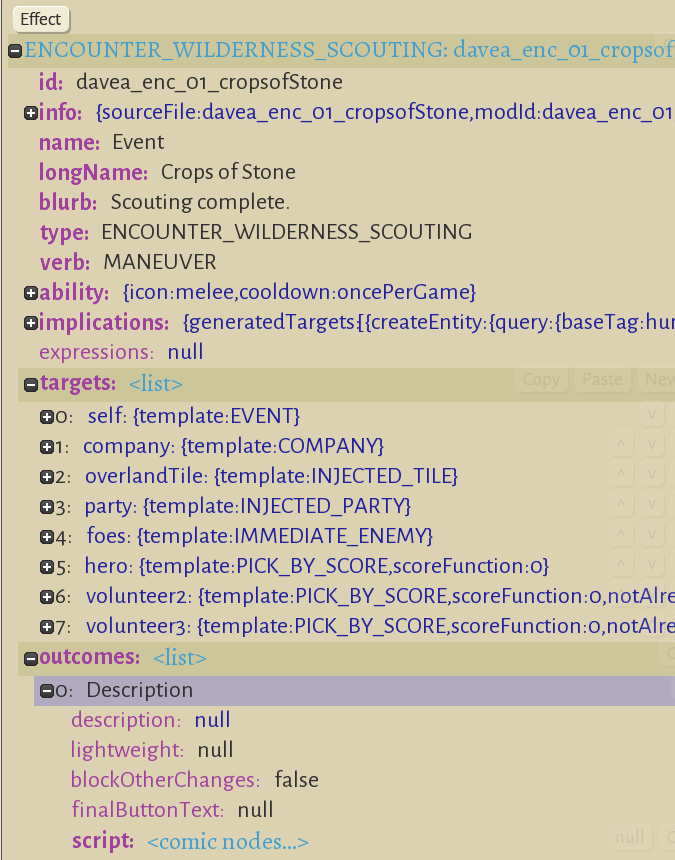
- Hover the mouse over "targets" and a row of buttons will appear. Click "New Story Role" and the New Story Role dialog will appear. For the first one, just click the "Create" button at the bottom right. This will add line 5, "hero".
- Add two more story roles using "New Story Role". For the second one, in the "role" dropdown, select volunteer2, and create. For the third one, select volunteer3.
- At the bottom, you will see text, "Error: target <N> (choiceTarget) defines no choices". For now, delete the choiceTarget row by hovering over the choiceTarget line and choosing "X" to delete it.
- The target section of your encounter window should look like this:
- Now is a good time to save, using the button at the top of the window.
Adding the comic
- At the top of the screen, select "comics" to open the comic editor. If it is not already selected, select the name of your encounter.
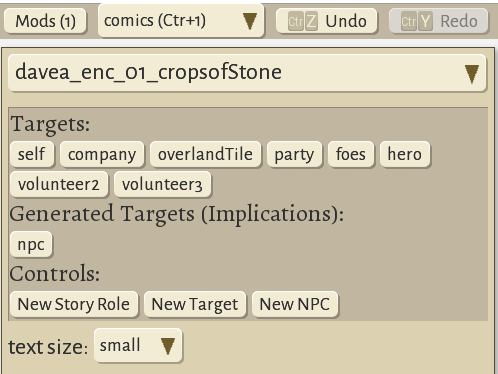
- We will have one NPC with dialog. At the upper left, click the button "New NPC". Now the upper left section of the comic editor should look like this:
- Sigh ... now I am stuck. I did say this is a work in progress.
There is an outdated guide to the comic editor which seems to assume some knowledge I don't have.

